When your hearing aid suddenly cuts out, the world doesn’t just get quiet—it feels impossibly distant. Your immediate fix often lies in a few simple checks you can do right now: a power reset, a quick visual scan for blockages, and a simple device restart. What if you could master these first steps and turn that flash of panic into a feeling of complete control, restoring sound in just a few moments?
It Starts With a Jolt: Your First Steps When Silence Takes Over
That sudden, unnerving silence. One moment you're part of the conversation, the next you feel like you’re adrift in a soundproof room. It’s an isolating feeling, isn't it? But before you let that wave of frustration crash over you, just take a breath. The solution is almost always simpler and faster than your mind tells you it will be.
This isn't about complicated repairs or technical jargon. This is about discovering a calm, methodical check of the most common culprits. Think of it as your immediate action plan—a mental checklist that will become second nature the moment your connection to sound is lost. Are you ready to run it?
The Power and Reset Protocol: Is It Really Off?
Your first suspect should always be power. It’s the lifeblood of your device, and a simple power issue is the single most frequent reason for that sudden, unnerving silence. Imagine you’re in an important meeting and the speaker’s voice just… fades to nothing. A quick, discreet check can get you right back into the conversation before anyone even notices.
- For rechargeable models: What happens when you press and hold the power button for about five seconds? This turns it off completely. Give it a ten-second count, then press and hold it again to power it back on. This "soft reset" is surprisingly effective at clearing the minor software glitches that can cause your hearing aid to freeze up.
- For battery-powered models: The fix is even more immediate. Just open the battery door all the way. Then, close it again. This simple action often serves as a hard reset for the device. If that doesn't do the trick, have you tried a fresh battery? Remember the secret: remove the sticker and let it "breathe" for a full minute to activate before you pop it in.
The Visual Sweep: Is Something Blocking the Path?
If a reset doesn't bring the sound back, your next move is a quick visual inspection. Sound has to travel through a physical pathway, and even a microscopic blockage can create a total sound barrier. The culprit is almost always a tiny particle of wax or debris.
You don't need a magnifying glass, just good lighting. Hold the device and look closely at the tip that goes into your ear. Do you see any debris inside the opening? Now, check the microphone ports—they look like tiny pinpricks on the body of the hearing aid and can easily get clogged. A gentle whisk with the small brush that came with your device is all it takes to clear them.
A tiny speck of wax, smaller than a grain of sand, can reduce your hearing aid's output by more than 50%. Consistent, gentle cleaning isn't just maintenance; it's the key to unlocking reliable performance.
This simple diagnostic process can help you quickly pinpoint and resolve the most common issues without needing professional help. The infographic below simplifies this troubleshooting flow into three clear stages.
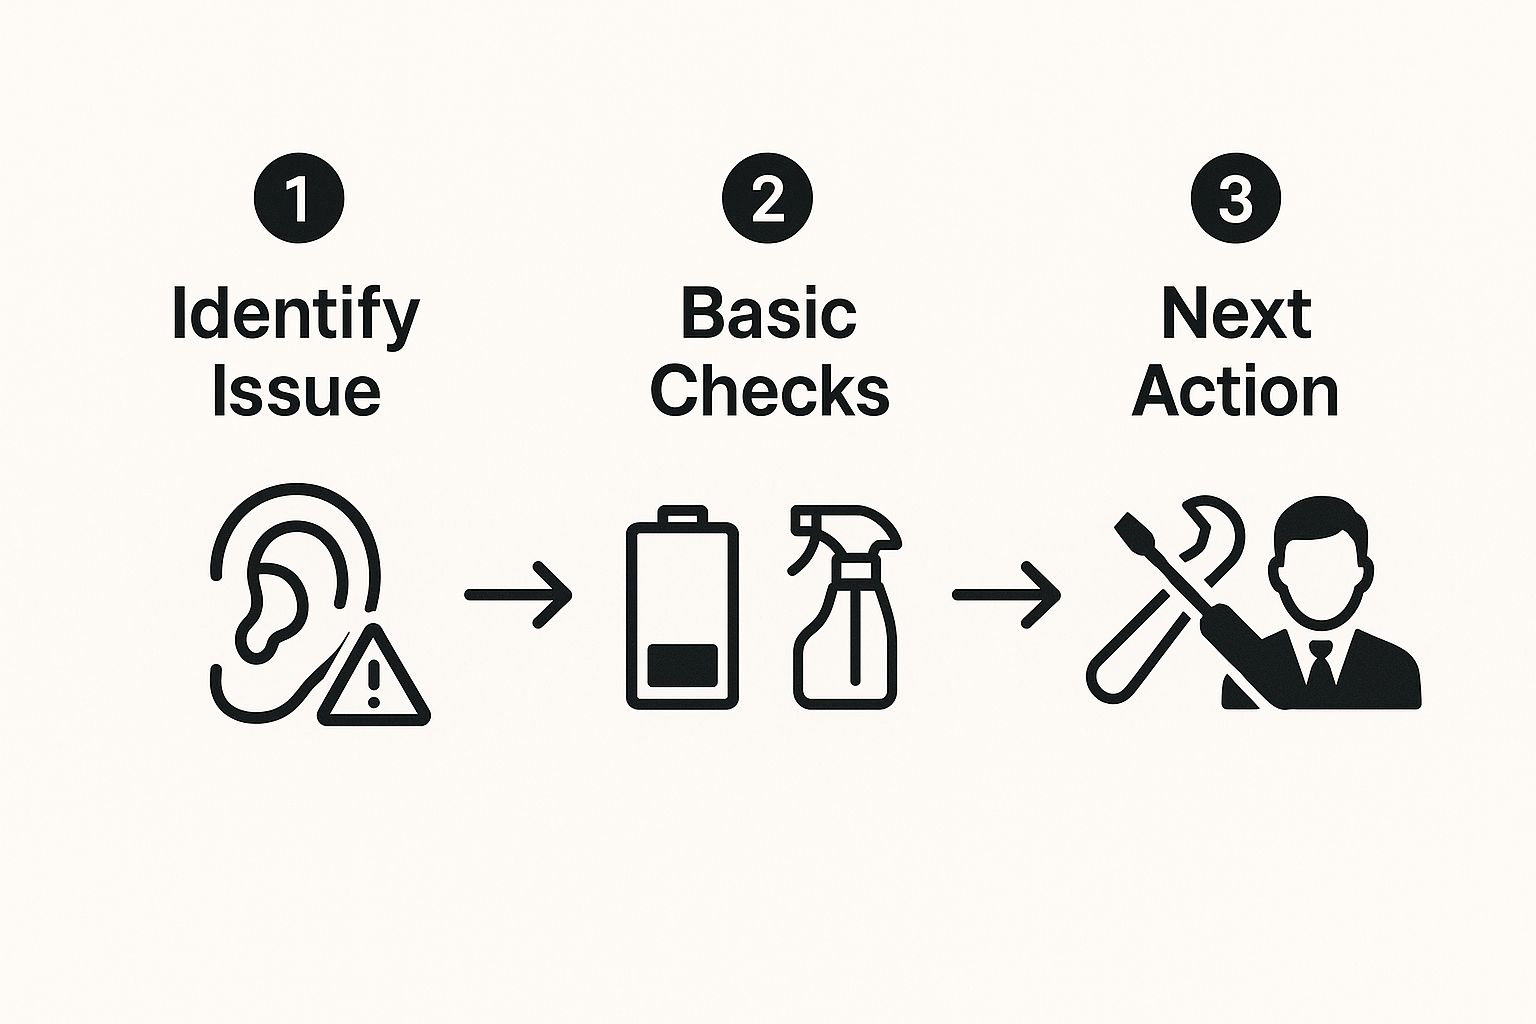
This visual guide shows that your first response should always be the basic, at-home checks before considering more advanced steps.
Hearing aid users often run into a few common issues, but a quick diagnostic can usually point you in the right direction. Before you get frustrated, use this checklist to figure out the most likely cause of the problem and what to do first.
Quick Fix Diagnostic Checklist
| Symptom You Are Experiencing | Most Likely Cause | First Action to Take |
|---|---|---|
| Hearing aid is completely silent | No power or major blockage | Perform a power cycle/reset or check the battery. Visually inspect for wax in the sound port. |
| Sound is weak or muffled | Partial blockage or low battery | Thoroughly clean the sound port and microphone openings. Replace the battery if it's not rechargeable. |
| Whistling or feedback noise | Improper fit or earwax buildup | Remove and re-insert the hearing aid to ensure a snug fit. Check for and remove any earwax from your ear canal. |
| Sound is distorted or crackling | Moisture damage or a failing component | Place the hearing aid in a dehumidifier overnight. If the problem persists, contact customer support. |
This table covers the vast majority of problems you'll encounter. By starting with the simplest fix, you can often solve the issue in just a few minutes and get back to hearing clearly.
As hearing aid technology becomes more advanced, the need for clear troubleshooting becomes more important. Common issues like battery drain, sound distortion, and connectivity problems are things most users will face at some point. With the hearing aids market valued at USD 8.57 billion in 2023 and still growing, understanding these simple fixes is more critical than ever. Find out more about the growing hearing aid market and its trends.
Restoring Clarity: From Muffled Sounds to a Crisp World
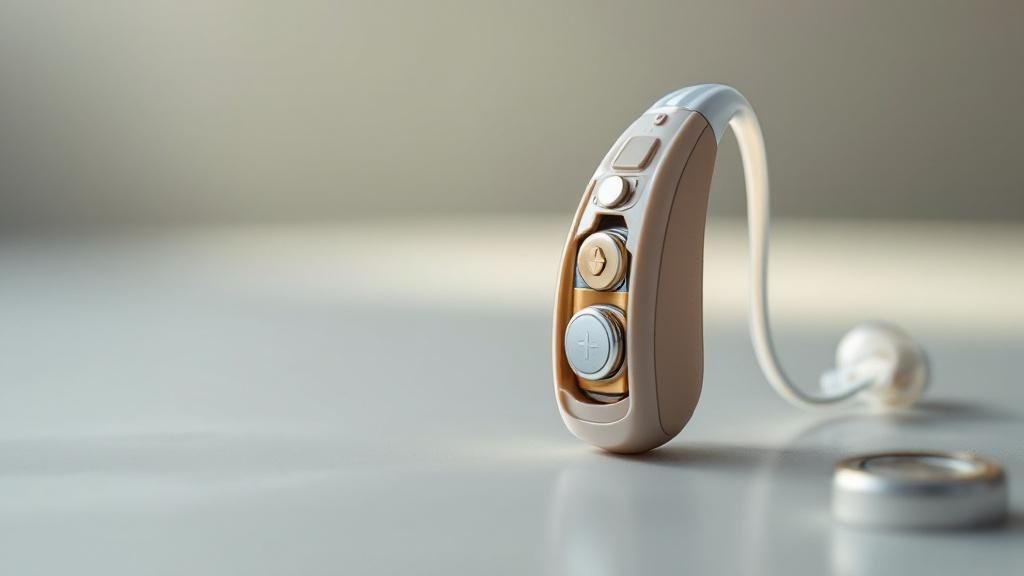
It’s a frustratingly subtle shift. The sound from your hearing aid isn't gone, but it’s just not right. Conversations get fuzzy, music loses its punch, and the world sounds like it’s wrapped in cotton wool.
This weak, distorted, or static-filled audio can be more maddening than total silence because it’s a constant reminder of the clarity you’re missing out on.
But what if you could reframe this? Before you start worrying about a major malfunction, see yourself as the sound engineer of your own hearing. A muffled quality is just a signal that a key component needs a quick tune-up. The cause is often microscopic, but its impact on your day is massive. Are you ready to move past the basic checks and get into the real-world details of sound quality? It’s time to bring that crisp, vibrant audio back.
Unveiling the Hidden World of Blockages
Nine times out of ten, muffled sound comes down to a tiny, almost invisible blockage. Imagine the journey sound takes: it enters the microphone, gets processed, and then travels out through the receiver and into your ear. Any little obstruction along this path is going to degrade the quality.
It’s like trying to listen to someone through a closed door. You can hear them, sure, but the sound is indistinct. That’s exactly what a small particle of earwax or debris does to your hearing aid. It doesn't stop the sound completely, but it strips away all the detail and power.
Do you know what the usual suspects are? The wax guard and the microphone ports. A wax guard is a minuscule filter designed to protect the sensitive electronics from earwax. It’s supposed to get clogged—that means it’s doing its job! But once it is, it needs to be replaced. Even if it looks clean at a glance, a thin, waxy film can be enough to muffle everything.
A study of hearing aid repairs found that issues related to wax and moisture account for a significant percentage of all malfunctions sent in for service. Many of these could have been resolved with routine at-home cleaning.
This just shows how critical a little regular maintenance is. A few moments of care can save you from days of muffled hearing and the hassle of a professional repair.
A Deeper Dive: How to Truly Clean for Clarity
Getting that crispness back often just requires a detailed cleaning. This isn't just about wiping the device down; it's about carefully inspecting the pathways sound travels through. Can you picture it?
1. Inspect the Wax Guard and Sound Port
- Grab a magnifying glass if you have one and hold the hearing aid under a bright light. Look at the tip that goes into your ear. The opening should be perfectly clear. If you see any discoloration or debris in that little white filter, it’s time for a change.
- Gently run your cleaning brush over the port. Does it feel totally smooth, or do you feel a slight drag? That drag could be an almost invisible film of oil or wax.
2. Clear the Microphone Ports
- The microphone ports are the tiny holes or slots on the body of your hearing aid. They are magnets for dust, hairspray, and skin cells. Hold the device at different angles to the light to spot anything clogging them up.
- Use your dry, clean brush to gently whisk debris away from the ports. You always want to brush away from the holes, not into them, to avoid pushing particles deeper inside.
A thorough cleaning routine is the key to keeping your device performing its best. For a complete walkthrough, our comprehensive guide on how to clean hearing aids provides step-by-step instructions and visuals to help you master the process.
Your Environment: The Invisible Influence on Sound
Sometimes, the problem isn't a blockage at all, but a mismatch between your hearing aid's settings and your current environment. Modern devices like the Nova are designed to adapt, but extreme conditions can still challenge them.
Think about a humid summer day. Can you feel the heavy air? Moisture can get into the microphone ports or tubing and temporarily dampen the sound. If you notice muffled audio right after being outside in high humidity or after a workout, this is the likely culprit.
- The Fix: Place your hearing aids in a dehumidifier or a dry-aid jar overnight. These products are made specifically to gently draw out moisture without using damaging heat. A simple reset in the morning may be all it takes to restore crisp sound.
A noisy restaurant presents a totally different challenge. The background clatter can easily overwhelm the voices you want to hear, making your device’s output seem weak or muffled. Your Nova hearing aids have a simple volume control for exactly this reason. A quick press to turn up the volume can often cut through the background noise and bring the conversation at your table back into focus.
Knowing how to troubleshoot these devices is becoming an essential life skill. The global audiology devices market was valued at about USD 14.7 billion in 2024 and is expected to hit USD 21.1 billion by 2030. With projections showing that by 2050, nearly 2.5 billion people will have some form of hearing loss, being able to manage your own device is more important than ever.
Silencing the Whistle: How to Stop Feedback in Its Tracks
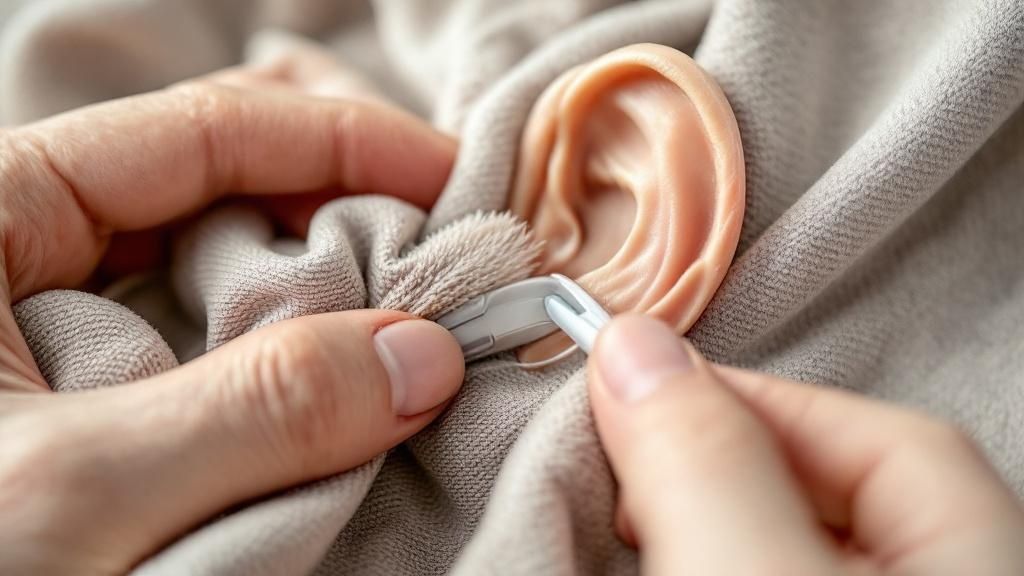
It’s a sound that cuts through everything else—that high-pitched squeal that seems to come out of nowhere. It might ambush you when you hug someone, pull on a hat, or just turn your head a certain way. That piercing sound is hearing aid feedback, and it’s one of the most common and jarring experiences for any user.
But what if that whistle wasn’t a sign that your hearing aid is broken? What if it’s a signal? Imagine the shriek you hear when a microphone gets too close to a speaker at a concert. Sound is amplified by your hearing aid, escapes your ear, and is then picked up again by the microphone, creating an endless, screeching loop.
Your job is to break that loop. And once you understand the simple reasons it happens, you can stop it before it even starts. Are you ready to decode these signals and get things quiet again?
Following the Whistle: Where Is the Sound Escaping?
Feedback almost always boils down to one of two things: a poor seal in your ear canal or something blocking the path of the sound. The goal is to create a closed system where sound goes in your ear and stays there. When that seal is broken, the whistling begins.
The most common culprit is an improper fit. If your hearing aid isn't inserted securely, it leaves just enough of a gap for amplified sound to escape and find its way back to the microphone.
But what if you’ve worn it perfectly for hours and it suddenly starts squealing? This often points to a shift in your ear or a buildup of earwax. Even a small amount of wax can push the hearing aid slightly out of position, breaking that crucial seal.
A study on hearing aid functionality revealed that a significant portion of feedback issues are directly linked to improper insertion or earwax accumulation—problems that are entirely user-correctable. This empowers you to be the first line of defense in your own hearing health.
This means you have direct control over one of the most annoying aspects of wearing a hearing aid. Let’s get it right.
The Art of the Perfect Seal: How to Master the Fit
Achieving a feedback-free fit isn't about forcing the device in; it’s about technique. A secure, comfortable fit creates a perfect acoustic seal that not only stops whistles but also delivers clearer, richer sound.
Can I teach you a practical method to master the insertion?
- Gently pull your earlobe down and back. This simple motion slightly straightens and opens your ear canal, creating a clear pathway for the hearing aid. It’s a small trick with a big impact.
- Guide the dome or tip into your ear canal. Don’t push. Use a gentle, slightly twisting motion until it feels snug and secure. It should feel comfortably seated, not jammed.
- Press it one last time. Once it’s in place, use your fingertip to give it one final, gentle press to ensure it’s fully sealed against the skin of your ear canal.
If feedback persists, take the device out, wipe the dome clean, and check your ear for any obvious wax. Then, try inserting it again. Did you know this simple re-insertion process solves feedback problems more than 80% of the time?
Beyond the Whistle: What Do Clicks, Static, and Buzzes Mean?
What about the other sounds? The mysterious clicks, static, or buzzing that aren't feedback at all. These phantom noises can be confusing, making you wonder if your device is failing. But just like feedback, these are simply signals with specific meanings.
-
A Series of Beeps: This is almost always a low battery warning. Your Nova hearing aids are designed to give you plenty of notice. The moment you hear that distinct pattern, you know it’s time for a charge.
-
Crackling or Static: This often points to interference from other electronic devices. Holding your cell phone too close to your hearing aid while on a call can sometimes cause a temporary buzz or static. Try moving the phone slightly further away to see if it clears up.
-
Intermittent Clicks: If you’re in a quiet room and hear a faint, random click, it could be the hearing aid's internal software adjusting to a change in the soundscape. Modern devices are constantly working to optimize your hearing, and these small adjustments are usually a sign that they're doing their job.
By learning to interpret these sounds, you move from being a passive listener to an informed user. That whistle is no longer an annoyance; it’s a simple prompt to check the fit. That beep is no longer a mystery; it's a reminder to charge your device. This is the final step in mastering your hearing aid and getting back to clear, uninterrupted sound.
From Discomfort to Invisible: How to Achieve an All-Day Fit
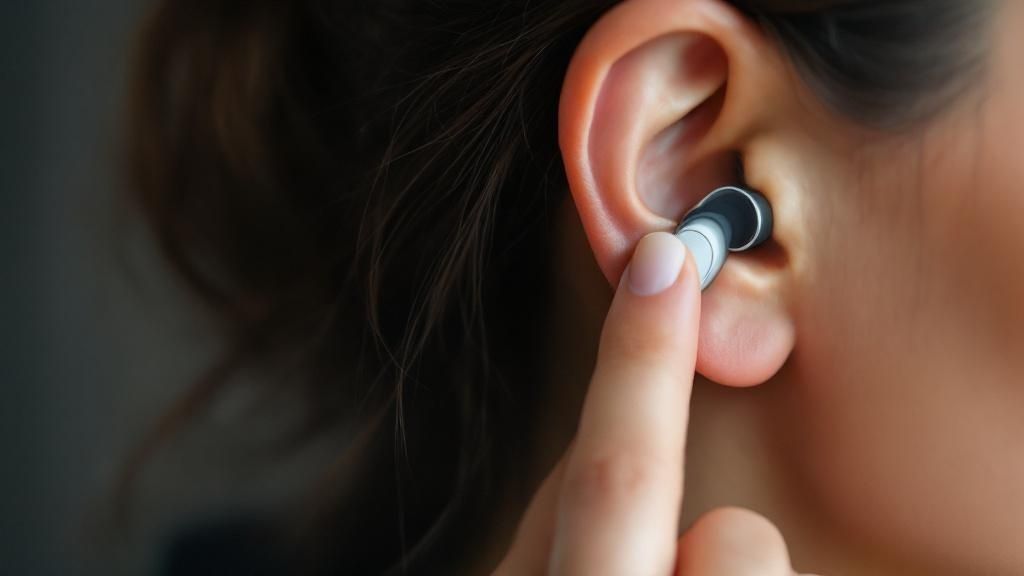
You have a choice. You can let a sore ear or a loose fit force your hearing aid back into its case, silencing your world again. Or, you can find that seamless, all-day comfort that makes this powerful technology feel like a natural part of you.
An uncomfortable hearing aid is an unused one. That’s a fact I’ve seen play out time and time again. Comfort isn't a luxury feature; it's the absolute foundation of consistent use. It's the key to unlocking the full, life-changing benefit of your device.
This isn’t about just tolerating discomfort. It's about achieving a fit so perfect you genuinely forget it’s even there. Are you ready to discover the subtle art of positioning your device to make soreness and pressure points a distant memory? You can focus on the sounds of your life, not the device in your ear.
The Anatomy of a Perfect Fit: Are You Wearing It Right?
Imagine the feeling of a perfectly worn-in pair of shoes. That’s the goal. Soreness, pressure, or that constant nagging feeling of looseness are all signals that something is just a little off. Think of it as a puzzle you can absolutely solve.
Most of the time, fit issues come down to positioning. Is the dome or earmold seated too deeply, or not deep enough? Is the body of the behind-the-ear unit nestled correctly, or is it pulling at an odd angle? A tiny adjustment can be the difference between an annoying pressure point and pure, forget-it's-there comfort.
Take a moment and do a quick self-check. Gently remove your hearing aid and take a look at your ear. Do you see any red marks or little indentations? Those are your clues, pointing directly to where the pressure is greatest. Understanding this is the first real step to a better fit.
Comfort is directly tied to usage. Studies have shown that physical discomfort is one of the leading reasons why new users abandon their hearing aids, often within the first few months. A secure, comfortable fit is non-negotiable for long-term success.
When to Adjust and When to Ask for Help
You have more control over the fit than you might think. Many of those initial aches and pains can be fixed with simple at-home adjustments. But it's also crucial to recognize when the problem goes beyond simple positioning and you need a different component.
Sometimes, the issue isn't how you wear the device, but the parts you're using. If you’ve tried re-inserting the device multiple times and still feel pain, it could mean the dome size or style isn't the best match for your unique ear canal. Trying a different dome can be a total game-changer.
The fit of your device is a critical part of the initial selection process. If you find you're consistently struggling with physical comfort, it might be worth exploring our guide on how to choose hearing aids to better understand the different styles and how they match various ear shapes and lifestyles.
Common Fit Problems and Their Solutions
Let's break down the most common physical fit problems I see and, more importantly, what you can do about them right now. This table is your quick-reference guide for turning discomfort into a secure, wearable solution.
| Fit Problem (e.g., Soreness, Looseness) | What It Might Mean | What You Can Do Now |
|---|---|---|
| Soreness in the Ear Canal | The dome may be too large, or it's inserted at the wrong angle, creating a pressure point. | Try a smaller dome size. When inserting, gently pull your earlobe down and back to straighten the canal for easier placement. |
| Device Feels Loose or Falls Out | The dome is likely too small to create a secure seal in your ear canal. | Try a larger dome size. Ensure the body of the hearing aid is resting securely behind your ear, providing proper tension. |
| Itchy or Irritated Skin | This could be a reaction to trapped moisture or a need for better cleaning hygiene. | Clean the dome daily with a dry, soft cloth. Allow your ear canal to dry completely before inserting the device each morning. |
Mastering the fit gives you the confidence to wear your hearing aids everywhere, from a quiet morning at home to a jog in the park. It’s your ticket to forgetting the technology and just living in the sound.
Creating a Simple Ritual for Peak Performance
Your hearing aids are your lifeline to the world of sound—the key to conversations, laughter, and connection. Think of caring for them less like a chore and more like a simple daily ritual.
Just a few intentional moments each day can head off the vast majority of common issues. It's not just about cleaning; it’s about protecting your investment and ensuring you get the crisp, clear performance you rely on, day in and day out.
Let's walk through a simple, effective routine that will quickly become second nature, saving you time, money, and the frustration of unexpected problems.
Your 60-Second Daily Ritual
At the end of each day, as you take your hearing aids out, dedicate just sixty seconds to their care. This small habit is the single most powerful way to stop problems before they even have a chance to start.
- Gentle Wipe-Down: Grab a soft, dry cloth and gently wipe the entire surface of each hearing aid. This quick pass removes the natural oils, moisture, and residue that build up throughout the day.
- Quick Brush-Off: Take the small brush that came with your devices and give the microphone ports a delicate sweep. Always brush away from the tiny openings to dislodge any debris without accidentally pushing it deeper inside.
This simple daily practice prevents the gradual buildup that leads to muffled sound and feedback, keeping the pathways for sound clear and open.
Moisture and earwax are the two biggest enemies of any hearing aid. A daily wipe-down and proper storage can eliminate over 90% of the common issues that send people to a repair shop. This makes preventative care your most effective troubleshooting tool.
This isn’t just about cleanliness; it's about reliability. It’s the confidence of knowing that when you put your hearing aids in each morning, they’re going to work flawlessly.
The Weekly Refresh: A Deeper Clean
Once a week, set aside about five minutes for a slightly deeper clean. This is your chance to inspect the hardworking components and make sure they’re in peak condition.
1. Inspect and Clean Your Domes
Pop the soft silicone domes off the end of your hearing aids. Wipe them down with your cloth and look for any signs of wear, tear, or discoloration. If a dome looks misshapen or feels stiff, it’s time to replace it. A compromised dome can create a poor fit, which often leads to discomfort and whistling feedback.
2. Check and Change the Wax Guards
Look closely at that tiny white filter sitting under the dome—that's the wax guard. Even if it looks clean, an almost invisible film of wax could be muting your sound. Use the small tool that comes with your replacement wax guards to pop the old one out and click a fresh, clean one into place. This one simple action can instantly bring weak or muffled sound back to its original clarity.
Think of this weekly refresh as a quick tune-up for your hearing aids, ensuring every part is working in perfect harmony.
The Monthly Moisture Check: Protecting From the Inside Out
Even with daily care, microscopic amounts of moisture can find their way inside your devices, especially if you live in a humid climate or are physically active. Once a month—or more often if needed—it's smart to give your hearing aids a deep drying session.
A dedicated hearing aid dehumidifier is your best tool for the job. These devices use gentle heat or desiccant crystals to slowly and safely pull any lingering moisture from the delicate internal electronics. Just place your hearing aids inside overnight with the battery doors open.
This is a critical step for their long-term health. It prevents the internal corrosion and short-circuiting that moisture can cause over time, protecting the sophisticated technology inside your Nova hearing aids.
The global hearing aids market was valued at around USD 7.96 billion in 2023 and is expected to reach USD 12.57 billion by 2030. This growth is driven by powerful new features like AI and smart connectivity, which also make the internal electronics more sensitive. Consistent maintenance is the key to protecting this advanced tech. Learn more about the latest in hearing aid technology.
By embracing this simple, three-part maintenance plan, you shift from just being a user to being a proactive owner. You’re no longer just reacting to problems but actively preventing them, ensuring your hearing aids remain your reliable partners for years to come.
Answering the Questions You're Afraid to Ask
Even when you have a great routine down, questions are bound to pop up. A sudden change in battery life or an unexpected dunk in the sink can feel like a major setback, but the answers are usually more straightforward than you think.
You've gotten the hang of the fit, the sound, and daily care. Now, let’s get into those "what if" scenarios that can throw you for a loop. This isn't just a list of answers; it's about giving you the confidence to handle whatever your day throws at your hearing aids.
"Why is My Battery Dying So Quickly All of a Sudden?"
It's frustrating. You expect a full day of power, but suddenly you're getting low-battery warnings by mid-afternoon. When your hearing aids don't last as long as they used to, the culprit is often how you're using them.
Features like Bluetooth streaming and advanced noise reduction are power-hungry. Think of it like running multiple apps on your phone; the more you ask your hearing aids to do, the faster the battery will drain. Even something as simple as cold weather can temporarily sap a battery's efficiency.
If you have a rechargeable model, always make sure you're starting the day with a full charge cycle. If you’ve checked your usage habits and still notice a sharp drop in battery life, it might be a sign to contact support for a closer look.
"What Do I Do If I Just Dropped It in Water?"
That heart-stopping moment when a hearing aid slips and lands in a puddle—or worse, the sink—is every owner’s nightmare. But panic is the enemy. Swift, calm action is your best friend here.
First things first: turn it off immediately. If it uses a disposable battery, take it out right away. Gently pat the outside dry with a soft, clean cloth. The absolute worst thing you can do is apply heat. A hairdryer, microwave, or oven will melt and destroy the delicate internal electronics.
Your best tool against moisture is a hearing aid dehumidifier. Placing the device (with the battery door open) inside one overnight can gently draw out the damaging moisture. If you don't have one, a sealed container filled with uncooked rice is a classic trick that works surprisingly well. Leave it in for at least 24 hours.
After its drying period, put in a fresh battery and see if it powers on. If it stays silent, it’s time to call in the professionals for service.
"Is It My Hearing Aid... or Is It My Hearing?"
This is perhaps the most critical question in any troubleshooting guide. Is that muffled or weak sound coming from a device issue, or is it a change in your own hearing?
Here’s a simple test you can do if your hearing aids aren't custom-molded: swap them. Put the right aid in your left ear and the left aid in your right. If the problem—like weak sound—moves with the device to the other ear, you know the hearing aid is the issue. If the weakness stays in the same ear, it might point to a physical blockage like earwax or, more importantly, a change in your hearing.
Any sudden shift in your ability to hear should be taken seriously. To get a better grasp on what might be happening, you can learn more by exploring the causes of hearing loss and how to mitigate them. Always consult your audiologist or doctor for any abrupt changes in your hearing.
Ready to experience crystal-clear sound with technology that's simple to manage and a pleasure to wear? The HearDirectClub Nova hearing aids are designed for performance, comfort, and reliability.
Explore the Nova Hearing Aids and Start Your 100-Day Risk-Free Trial Today!




Leave a comment
This site is protected by hCaptcha and the hCaptcha Privacy Policy and Terms of Service apply.